
The Dry-Dropper: How, When, and Where
I've heard the argument that a dry-dropper rig isn't a good choice because it does neither half properly. The dry, the argument goes, gets bogged down by the dropper, and the dropper can't be fished as precisely as it can with a dedicated indicator. While at times these things may be true, to discredit a tried-and-true method like the dry-dropper is to throw out one of my favorite and most productive methods of fishing.
A dry-dropper rig is simple: a dry fly with a nymph tied to it. Of course, the individual rigs can vary greatly, but they all boil down to this basic setup. The nymph works pretty much the same way it always does, and while the dry does too, it also acts as the indicator for the nymph.
In this scenario, you're waiting for a fish to either take your dry fly off the surface, or for the dry fly to dive underwater, indicating a subsurface strike.
The argument that a dry-dropper presents neither a dry fly nor nymph as well as a single rig is probably true. However, that's no reason not to fish it. While it doesn't do either of those technically as well as a dedicated rig, there are other benefits you don't get from having just a single dry fly or nymph on.
For one, you open up the options for the fish. Allowing them to feed on the surface and below can, at times, double your chance of success. Additionally, there are times when having a dry fly as an indicator is preferable to a standard indicator. I'll get into that farther down.
The fact is, the dry-dropper is one of the most helpful rigs you can have in your back pocket for the next time you aren't sure where to start.
How to rig
There's no single right way to set up a dry-dropper rig, but there are a couple methods that usually take the cake.
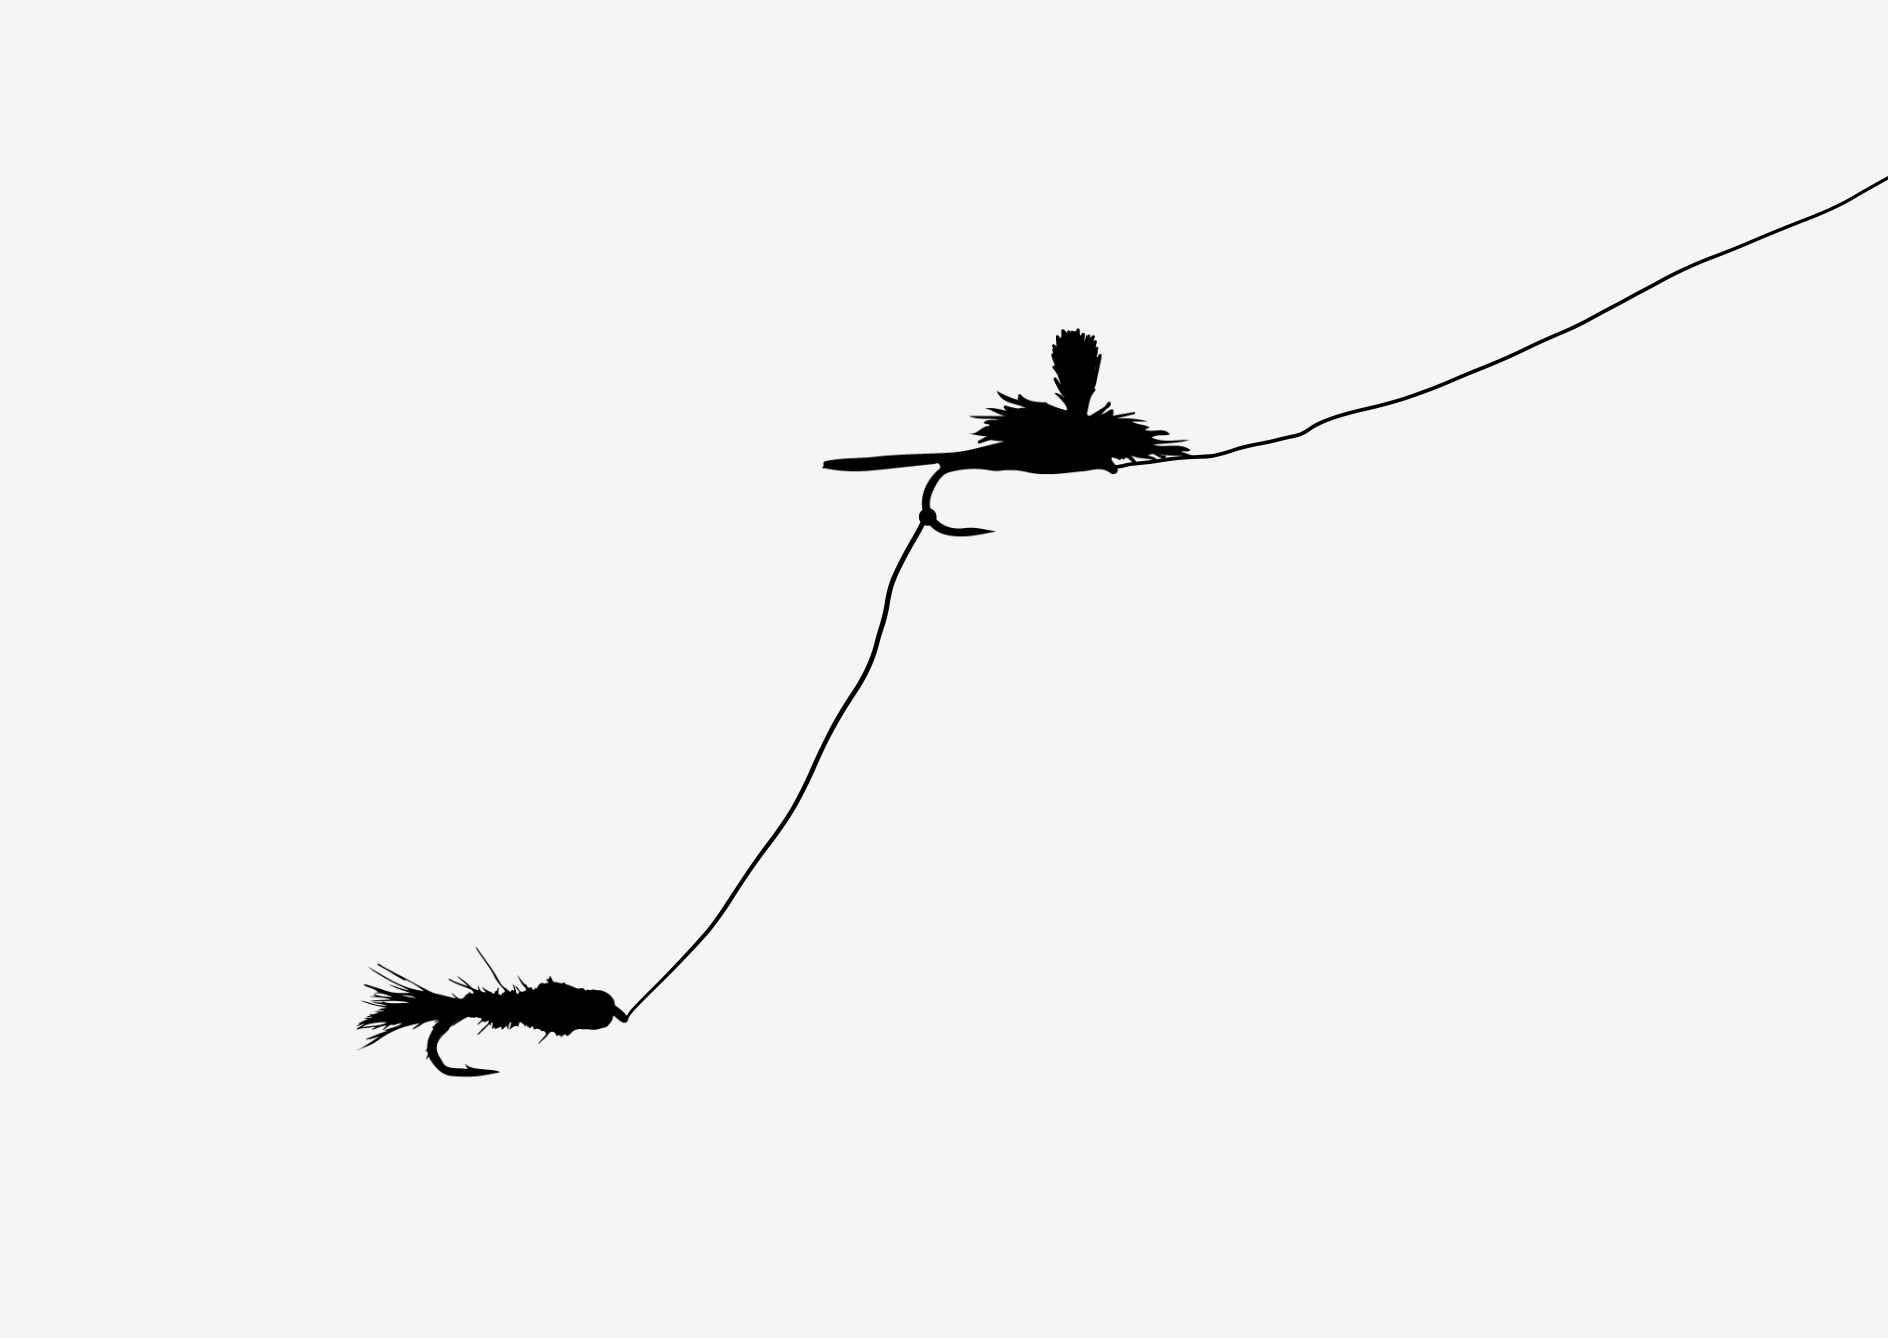
The first, and most commonly used, is attaching the dropper fly to the bend of the dry fly hook with a clinch or improved clinch knot. The length of tippet between dry and dropper is based on the depth of the water you're fishing, but for me on most average trout streams, somewhere between 12 and 24 inches is standard. In very shallow or very deep streams, you may want to go shorter or longer than this range.
The upside to this method, beyond just being straightforward and simple, is that you're likely to get relatively few knots and tangles. Everything is in line, so as long as you have good line control, the dry and the dropper should stay in line with each other.
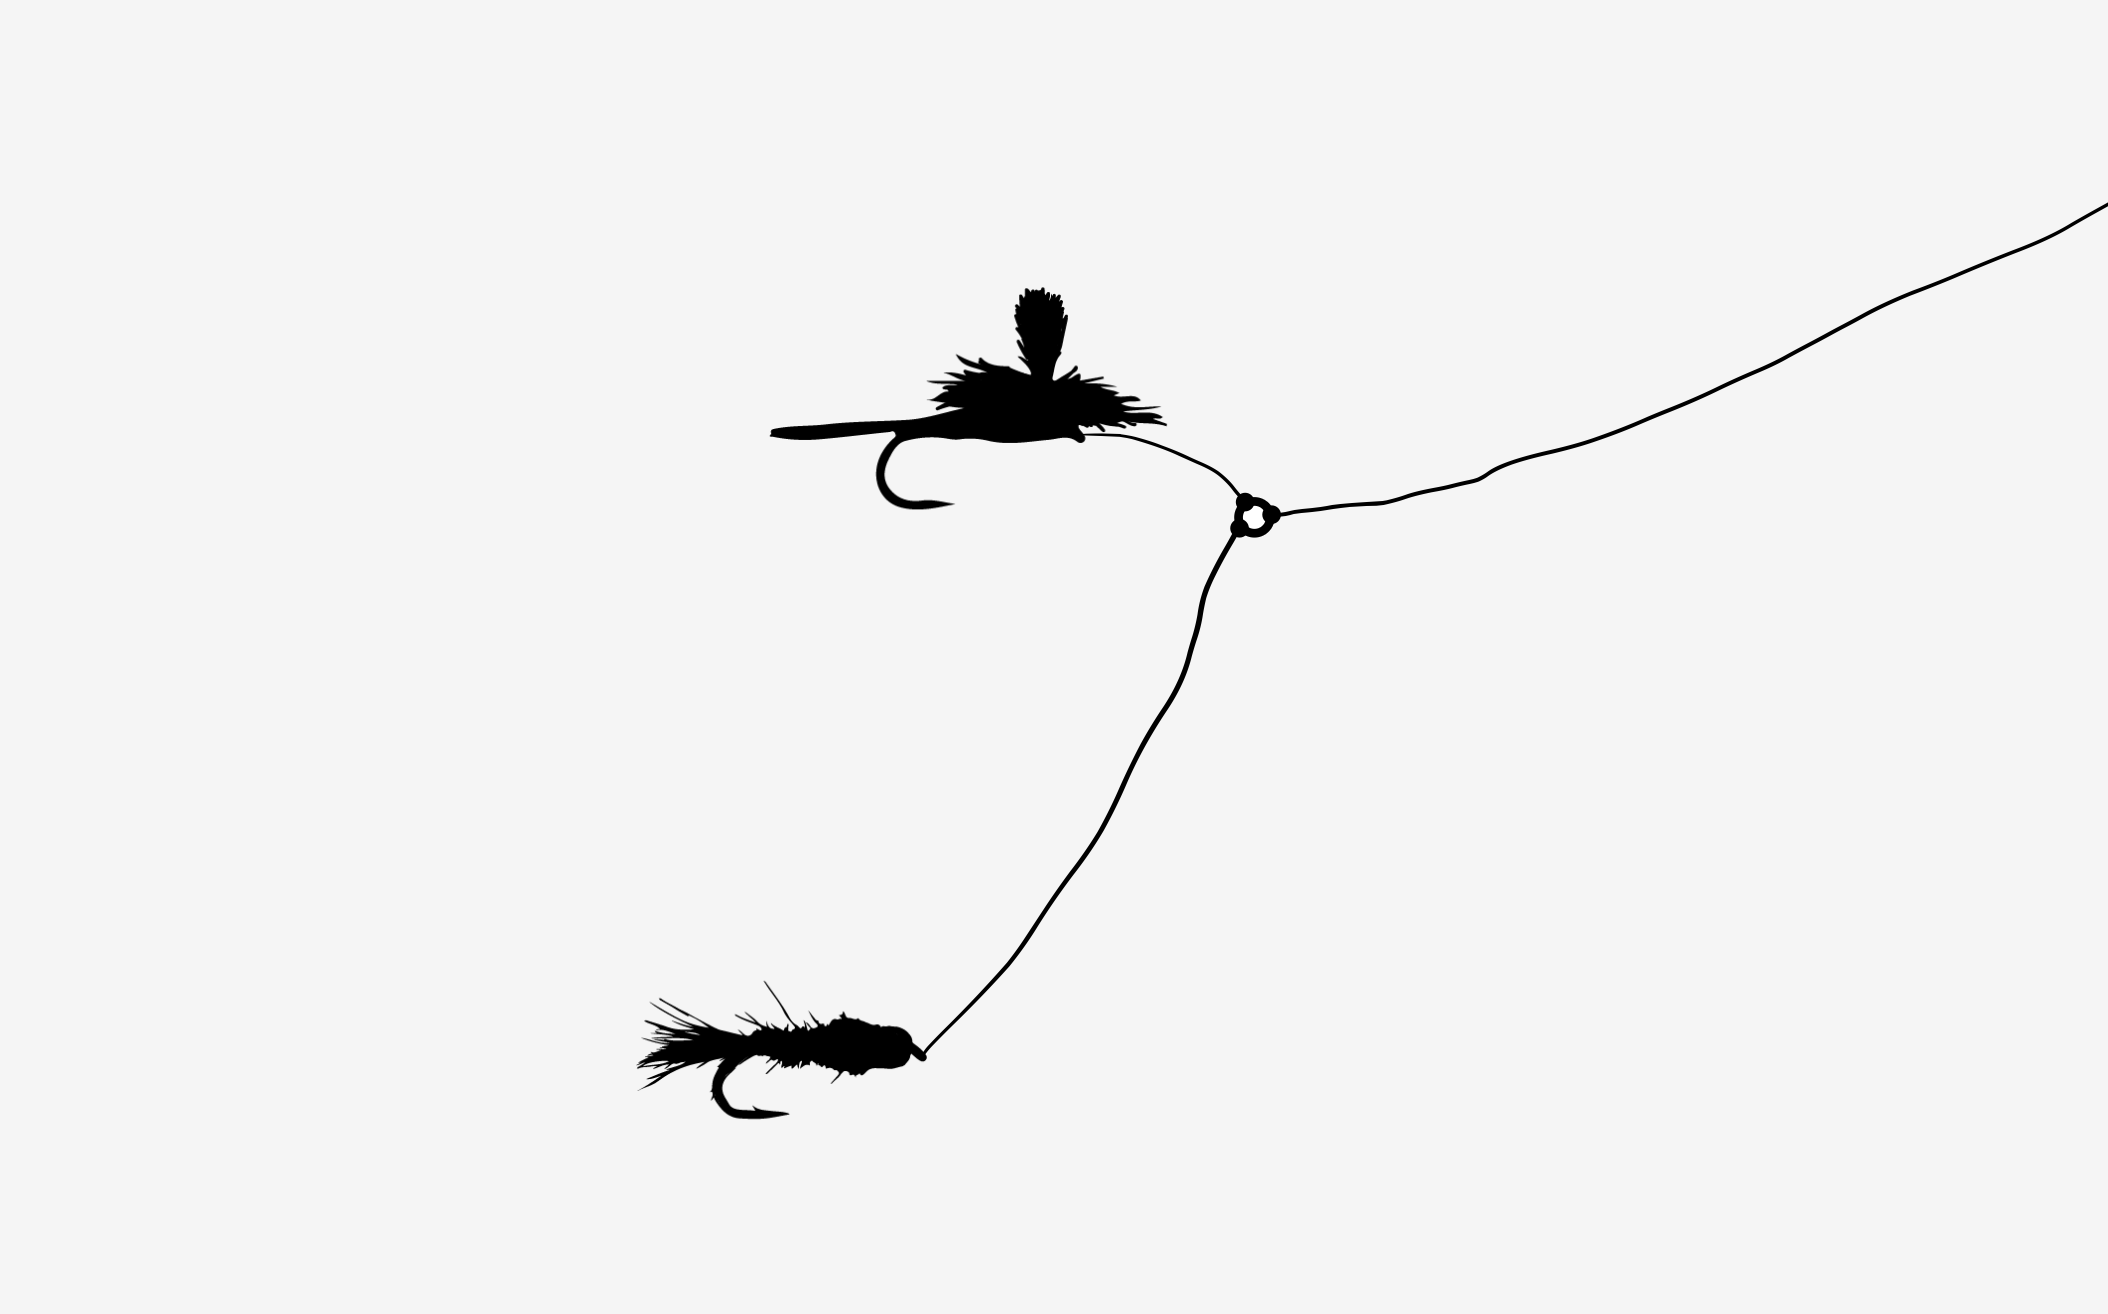
The other common method is attaching the dropper tippet to the eye of the dry fly hook. In this case, the dry fly's eye will have two clinch or improved clinch knots on it, one to the leader and one to the dropper.
There are two notable benefits to this method. One is that, when using barbless hooks, you don't have to worry about the tippet sliding off the bend of the dry fly. The other has to do with fighting a fish. If you hook a fish on the dry fly, the dropper(s) will be dragging behind in the water. If it happens to get momentarily hung up on a rock or log, it will pull the rig backward. In this situation, if you're tied onto the bend of the dry fly, this snag will pull the hook directly away from the fish, the same way your hemostats would, potentially unhooking it. If you're tied to the eye and this happens, it will be pulling the dry fly forward, keeping it lodged in the fish's mouth.

One downside to this method is that it leaves the dry fly dangling down along the dropper tippet, making it easier for the hook to get caught up in the line.
There are other ways of rigging a dry dropper that people swear by, although some of these I have never tried myself. These include making the nymph the point fly and having the dry fly hang from the tag end of a surgeon’s or blood knot farther up the line, or making a similar rig using a tippet ring to hold both the dry and the nymph (the dry coming from a short tippet connection, and the nymph from a longer tippet connection).

One of the most interesting I've heard, although I have not used it, is the following: tie a six-to-eight inch section of tippet to the leader using either a blood or surgeons knot. Slide the eye of the dry fly onto this section of tippet, but don't affix it. Then, tie on another longer section of tippet to the previous tippet using the same knot. At this point, there should be two knots about six to eight inches apart, with the dry fly between sliding freely along the section of tippet, stopped by the knots. To the end of the rig, tie on the nymph. This allows the dry fly and nymph to move more naturally with each other, so if one is pulled in a different current, it doesn't yank the other.

Remember, there are a thousand ways to skin a cat, and the same applies to dry-dropper rigs. Don't be afraid to try different setups until you find the one that works. And be open to trying your own, too. Fish don't check the rule book for how things are rigged, so just because you haven't seen your idea written down somewhere doesn't mean it won't work.
When to use a dry-dropper
In my mind, there's never really a bad time to try a dry-dropper. However, there are definitely times when it makes more sense than other times.
The first situation that comes to mind is when you're just not sure what the fish are eating. Sure, you can look around at which bugs are available or consult hatch charts, but at the end of the day, you can never really know what the fish are keying in on until you see them feed.
Offering them both a dry fly and a nymph at the same time can tell you pretty quickly what they prefer. There have been many times while fishing a dry-dropper that I've caught fish both above and below the surface. This means that I'd have probably also caught fish on a dry-only or nymph-only setup. However, only with the dry-dropper can you compare success rates between the two types at the same time. Often, I will catch three-quarters or more of my fish on either the dry or the dropper. This is a great way to prospect for what the fish actually want, in case you want to switch to a dedicated rig of that type.
Another great time to use the dry-dropper is when aquatic insects are emerging just before a hatch. As opposed to true nymph rigs where you may be sending flies deep with lots of weight, most dry-dropper setups are fairly lightweight and shallow, relatively speaking. This means that much of the time, a nymph might be riding somewhat close to the surface, which can be very effective when fish are looking for emergers. Along the same lines, the tug of the bottom fly might pull the dry slightly down into the surface film, also effectively creating an emerger.
A third ideal dry-dropper situation is when you want to fish subsurface, but the plop of an indicator would be too much for the water you're fishing. If the fish are extremely spooky and the water is glassy and clear, a traditional indicator might be too much. A dry fly is one of the least intrusive indicators out there, and it's perfect for situations that require stealth.
Where to use a dry-dropper
Like the timing of using a dry-dropper, the location is mostly up to the angler. That said, some areas seem made for them, and others not so much.
The biggest limiting factor is rough, fast water. As opposed to the smooth, clear water that I mentioned earlier as ideal for this setup, choppy water not only hides the splash of an indicator well, but also tends to suck dry flies underwater.
A dry-dropper only works when you can see your dry fly. If it's underwater, it will be both less appetizing to discerning fish and ineffective as an indicator. If you realize that due to currents or cascades, your dry fly is unable to stay on the surface, it's probably best to swap out for an indicator rig.
In this case, it's not so much where a dry-dropper works, but rather where it doesn't, and rough water isn't the best place.
Another thing to consider when deciding whether a run is good for a dry-dropper is depth. Technically, you can use this setup in any depth of water, but there's a sweet spot: not too deep and not too shallow. While a fish may come way up to grab your fly, very deep runs where fish are holding near the bottom may be better suited for using weight and a dedicated nymph. Similarly, trying to pick up that tiny fish hanging out in four inches of flat water might be easier with just a dry fly or a tightlined nymph, as the dropper of a dry-dropper might get hung up if it's set for deeper runs. Of course, you can adjust depth each time you move, but that's a hassle.
Dry-droppers can and do work on stillwater in certain situations. I usually opt for a dry, double-dry, or stripped nymph on stillwater, but occasionally will drop a nymph off the back of a dry. I usually do this if I'm getting a few takes on the surface, but not as many as I'd hoped. I figure the dropper in this situation might tempt a hesitant fish that isn't ready to commit to rising.
Fly selection
So, which types of flies are best for dry-dropper rigs? Luckily for us, the options are wide open!
Really, you can use any combination of dry flies and emergers or nymphs to create your setup. Using an emerger as a dropper works great during hatches, and true nymphs are great for early morning before the bugs have started stirring.
The two big considerations for choosing flies are the buoyancy of the dry and the weight of the nymph.
You want a highly-visible dry fly that can stay up and a nymph that doesn't bring the whole ship down. For dry flies, stick with larger, fluffier flies that have no problem staying on the surface. Hoppers and other terrestrials, large hackle-filled parachutes, and bushy attractor flies are go-to options. Avoid sparse dries and tiny, hyper-realistic midge patterns that can barely be spotted even on a good day.
As for nymphs, remember that a pinch of fur and feathers is what's keeping everything afloat. Great choices for droppers include small beadheads, non-beadheads, and emergers. You'll probably want to avoid your giant, weighted Pat's Rubber Legs and heavy tungsten beadheads unless you have something unsinkable on the surface.
When I'm choosing my flies, I often prioritize the nymph over the dry unless there's a very active hatch going on that I'm trying to match. Without an active hatch, most fish will feed subsurface. In this case, it's better to choose the right nymphs and think of the dry as an indicator that may get a strike (if you'd be fishing an indicator rig anyway, might as well make the indicator edible). This means I'll often fish a small hopper as my dry even in winter or spring, when terrestrials aren't top of mind. I've caught tons of fish on foam terrestrials during seasons that "shouldn't" involve these flies. Remember, fish don't read the rule book.
I'll prioritize the dry if I actually think that most of my action will be on the surface anyway. In this case, I'll choose whatever I want on top, and follow it with a non-intrusive dropper like a midge or other small, unweighted nymph.
Of course, if you can prioritize both by pairing an appropriate dry with an appropriate nymph, please do! In late summer when terrestrials are already the go-to dry, the hopper-dropper rig shines. Large hoppers can handle most nymphs as droppers, so feel free to choose both without regard to which might need to be sacrificed.
Along with fly selection comes weight. Should you add split shot? Some people think that split shot is reserved for indicators that can handle the extra pull. While it's true that the added weight of split shot can ruin small, delicate dry-dropper rigs, I use weight often when using a hopper-dropper to get my nymph down quickly. I'll add one tiny weight on the tippet between the dry and the dropper, and as long as your dry is buoyant enough, this shouldn't be a problem.