
How to Set Up a Fly Reel
Setting up a fly reel is pretty simple, but if it's your first time setting one up, or it's been a while, you may need a walk-through or refresher. Once it's set up, it'll be good to go through many fishing outings.
I'll start by saying this is my method of rigging a reel, and although I feel it's a decent representation of your average setup, there are tons of ways out there to do it. This method is for your typical one-handed rod, and for standard fly casting to trout, bass, panfish, and the like (as opposed to a rod set up for Euro nymphing or other specialized styles).
What you'll need
A fly reel
100-150 yards of backing
A fly line
A tapered leader
Scissors
If you need help with leaders, click here.
1. Attach the backing to your reel
The first step to setting up your reel is getting the backing tied on. The amount you'll need will vary based on the reel, but even then it isn't an exact science. You can often look up your specific reel and see the recommendations for backing, but in general, a reel will take around 100-125 yards, and can handle some wiggle room.
What you don't want is so much backing that your fly line can't fit comfortably on your reel without rubbing, so if you notice during the next step that it's cramped, you can go back and remove some excess backing.
To attach the backing, wind the end around the arbor (center) of your reel and tie an arbor knot. After you've tied it, trim the tag end closely.
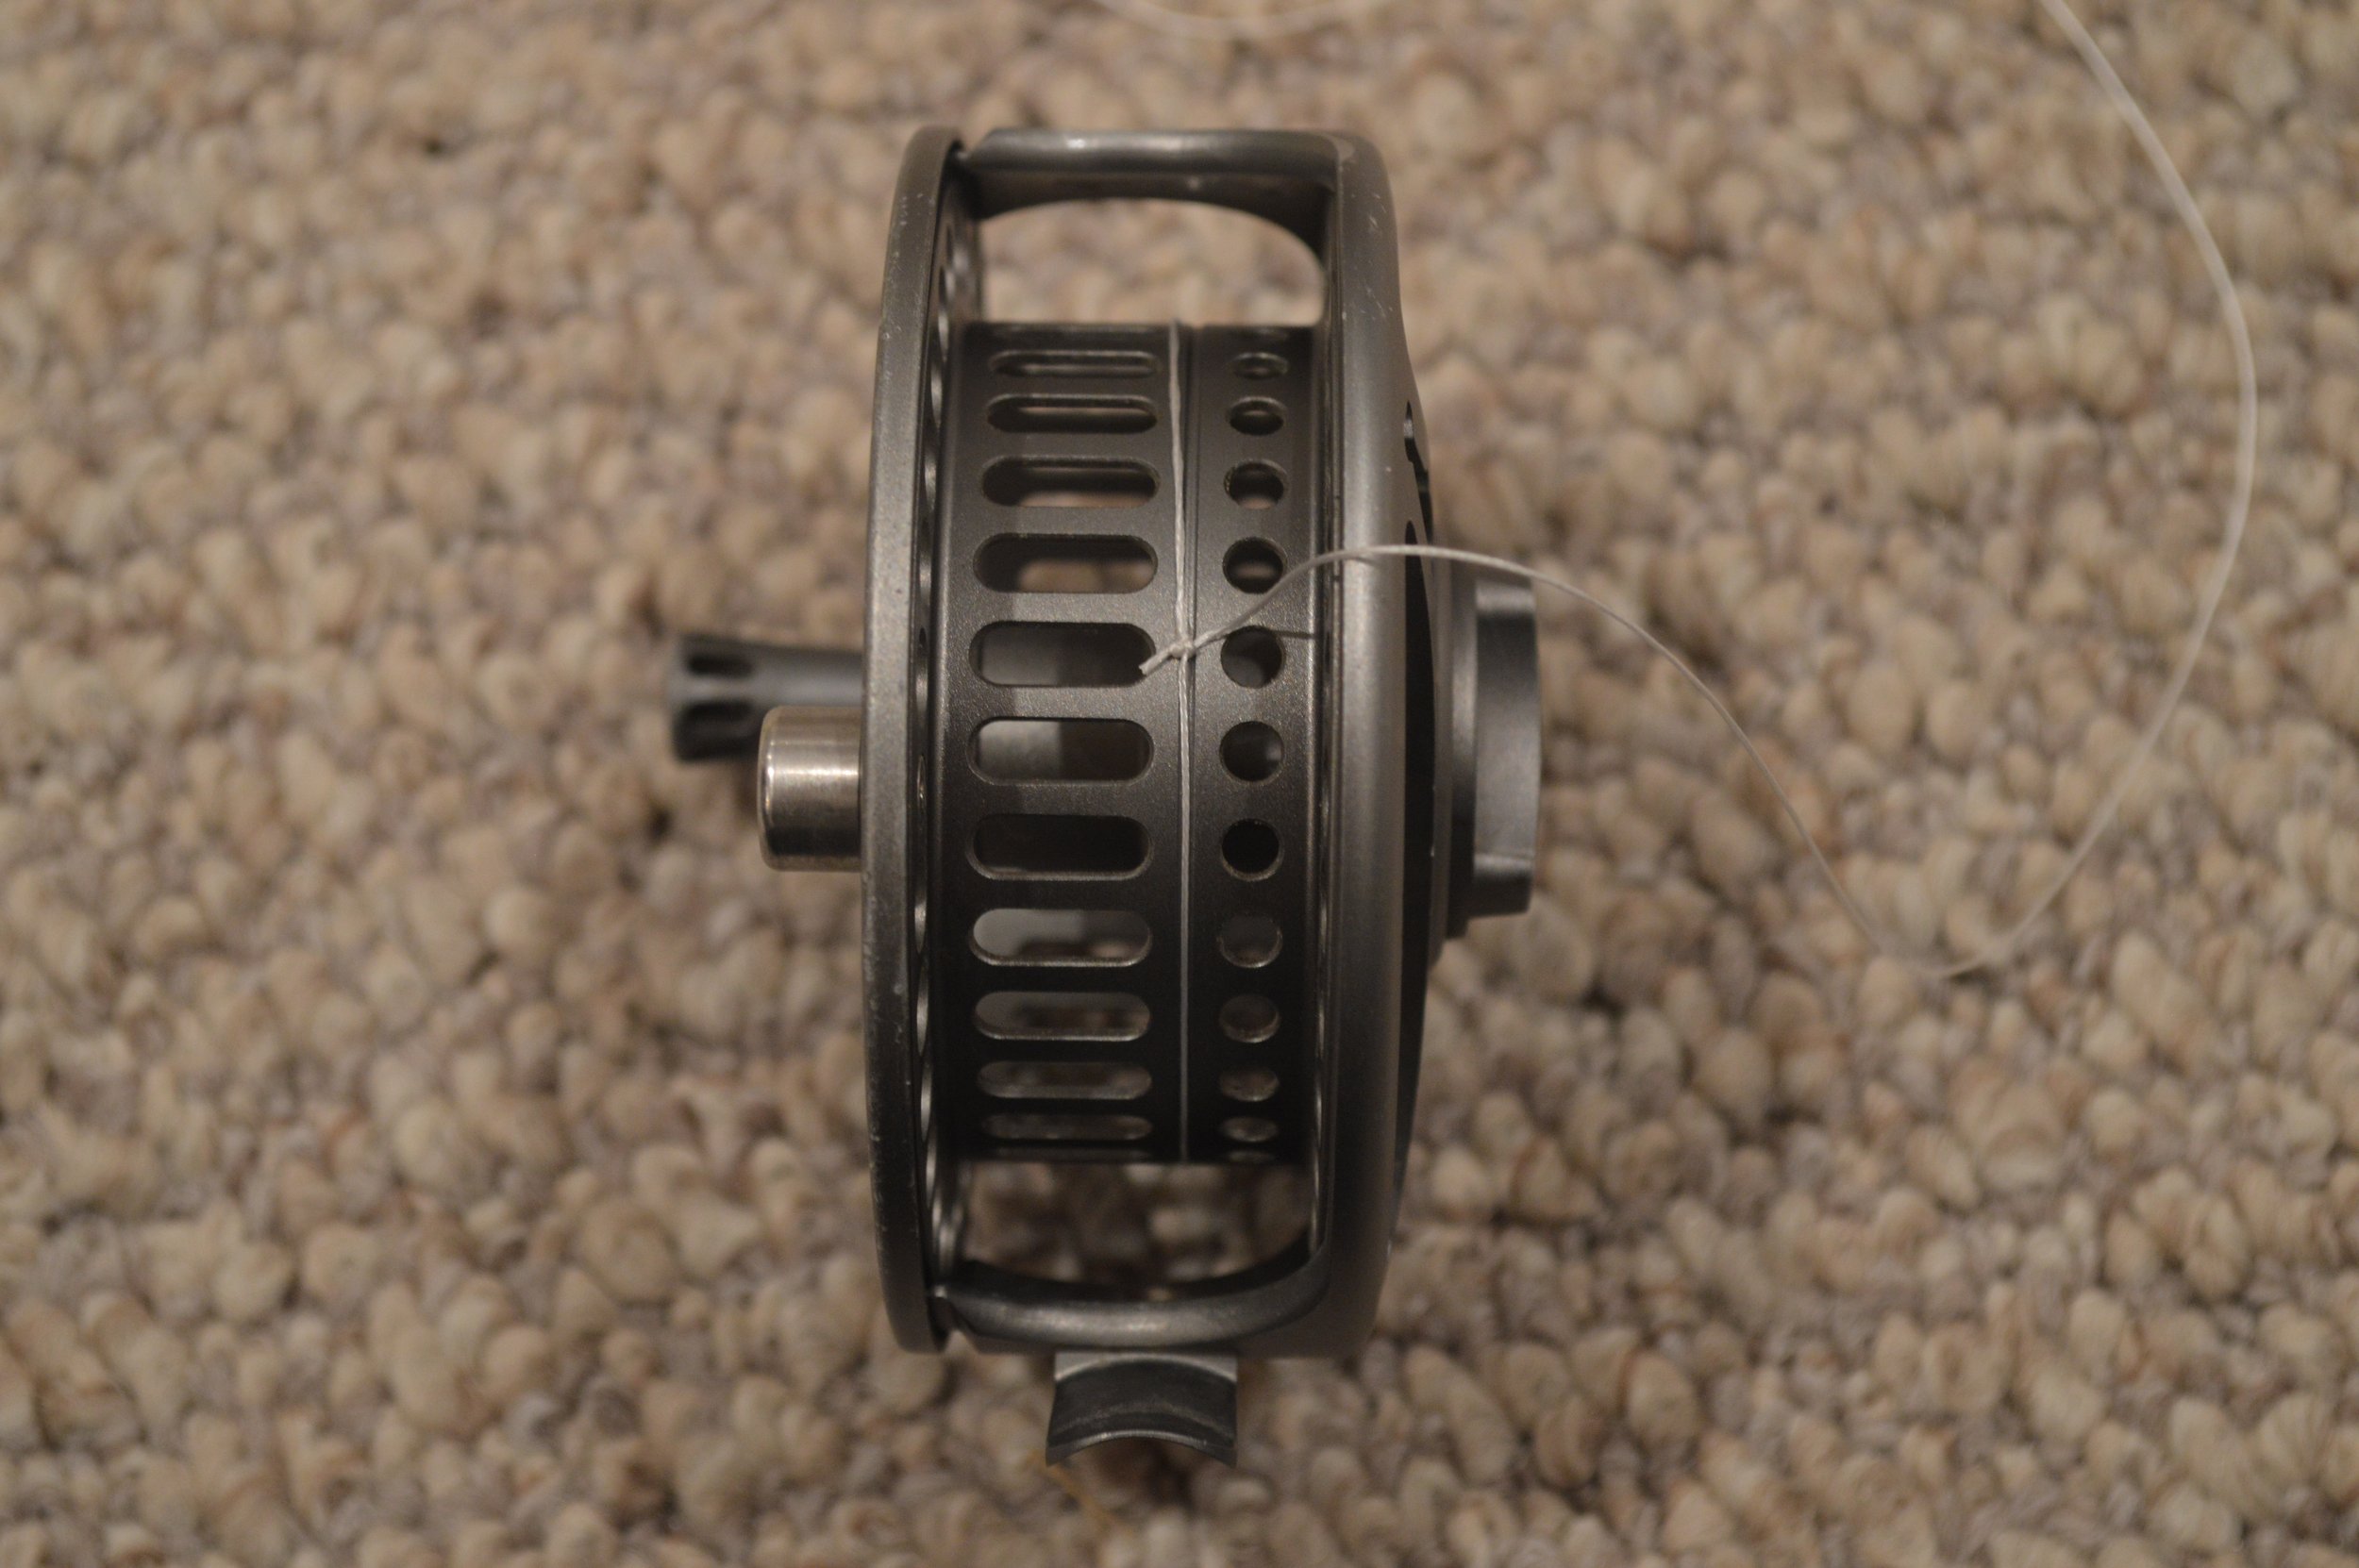
Once your arbor knot is secure, it's time to reel up the backing. When you first start reeling, it's likely the backing will just slip around the arbor of the reel as it turns. To fix this, I usually start reeling very slowly and with very little tension. Once the backing "catches" and starts winding up, you can add more tension, which you'll use throughout the rest of the spooling process. As you reel, make sure to spread the backing across the reel to avoid letting it build up too much in a single strip. It should look like this as you go.
When you're done spooling it, you can cut it with scissors. If you find out during the next step that you've used too much, you can always come back and trim it farther back.
2. Attach the fly line to the backing
Note: before starting this step, make sure you know which end of your fly line is meant to connect to the backing. Fly lines often come with a tag letting you know which end is which, but if yours doesn't, look for the end that is long, thin, and uniform. The other end should have a weighted taper (for weight-forward lines).
Now that your backing is spooled, it's time to connect the fly line. How you do this will depend on your fly line. These days, many fly lines come with a welded loop on both ends. If that's the case, your life is easy. All you need to do is tie a clinch knot through the loop with the backing and trim the tag end.
If your fly line does not come with a welded loop, there are two main options for connecting the fly line to the backing. These are the Albright and the nail knot. Either one works, but many would say the Albright is easier to tie.
After you tie your knot, make sure you trim the tag end closely. I once lost a giant rainbow trout because the fish took me into my backing, and the connecting knot got caught in one of my rod guides and popped the fish off.
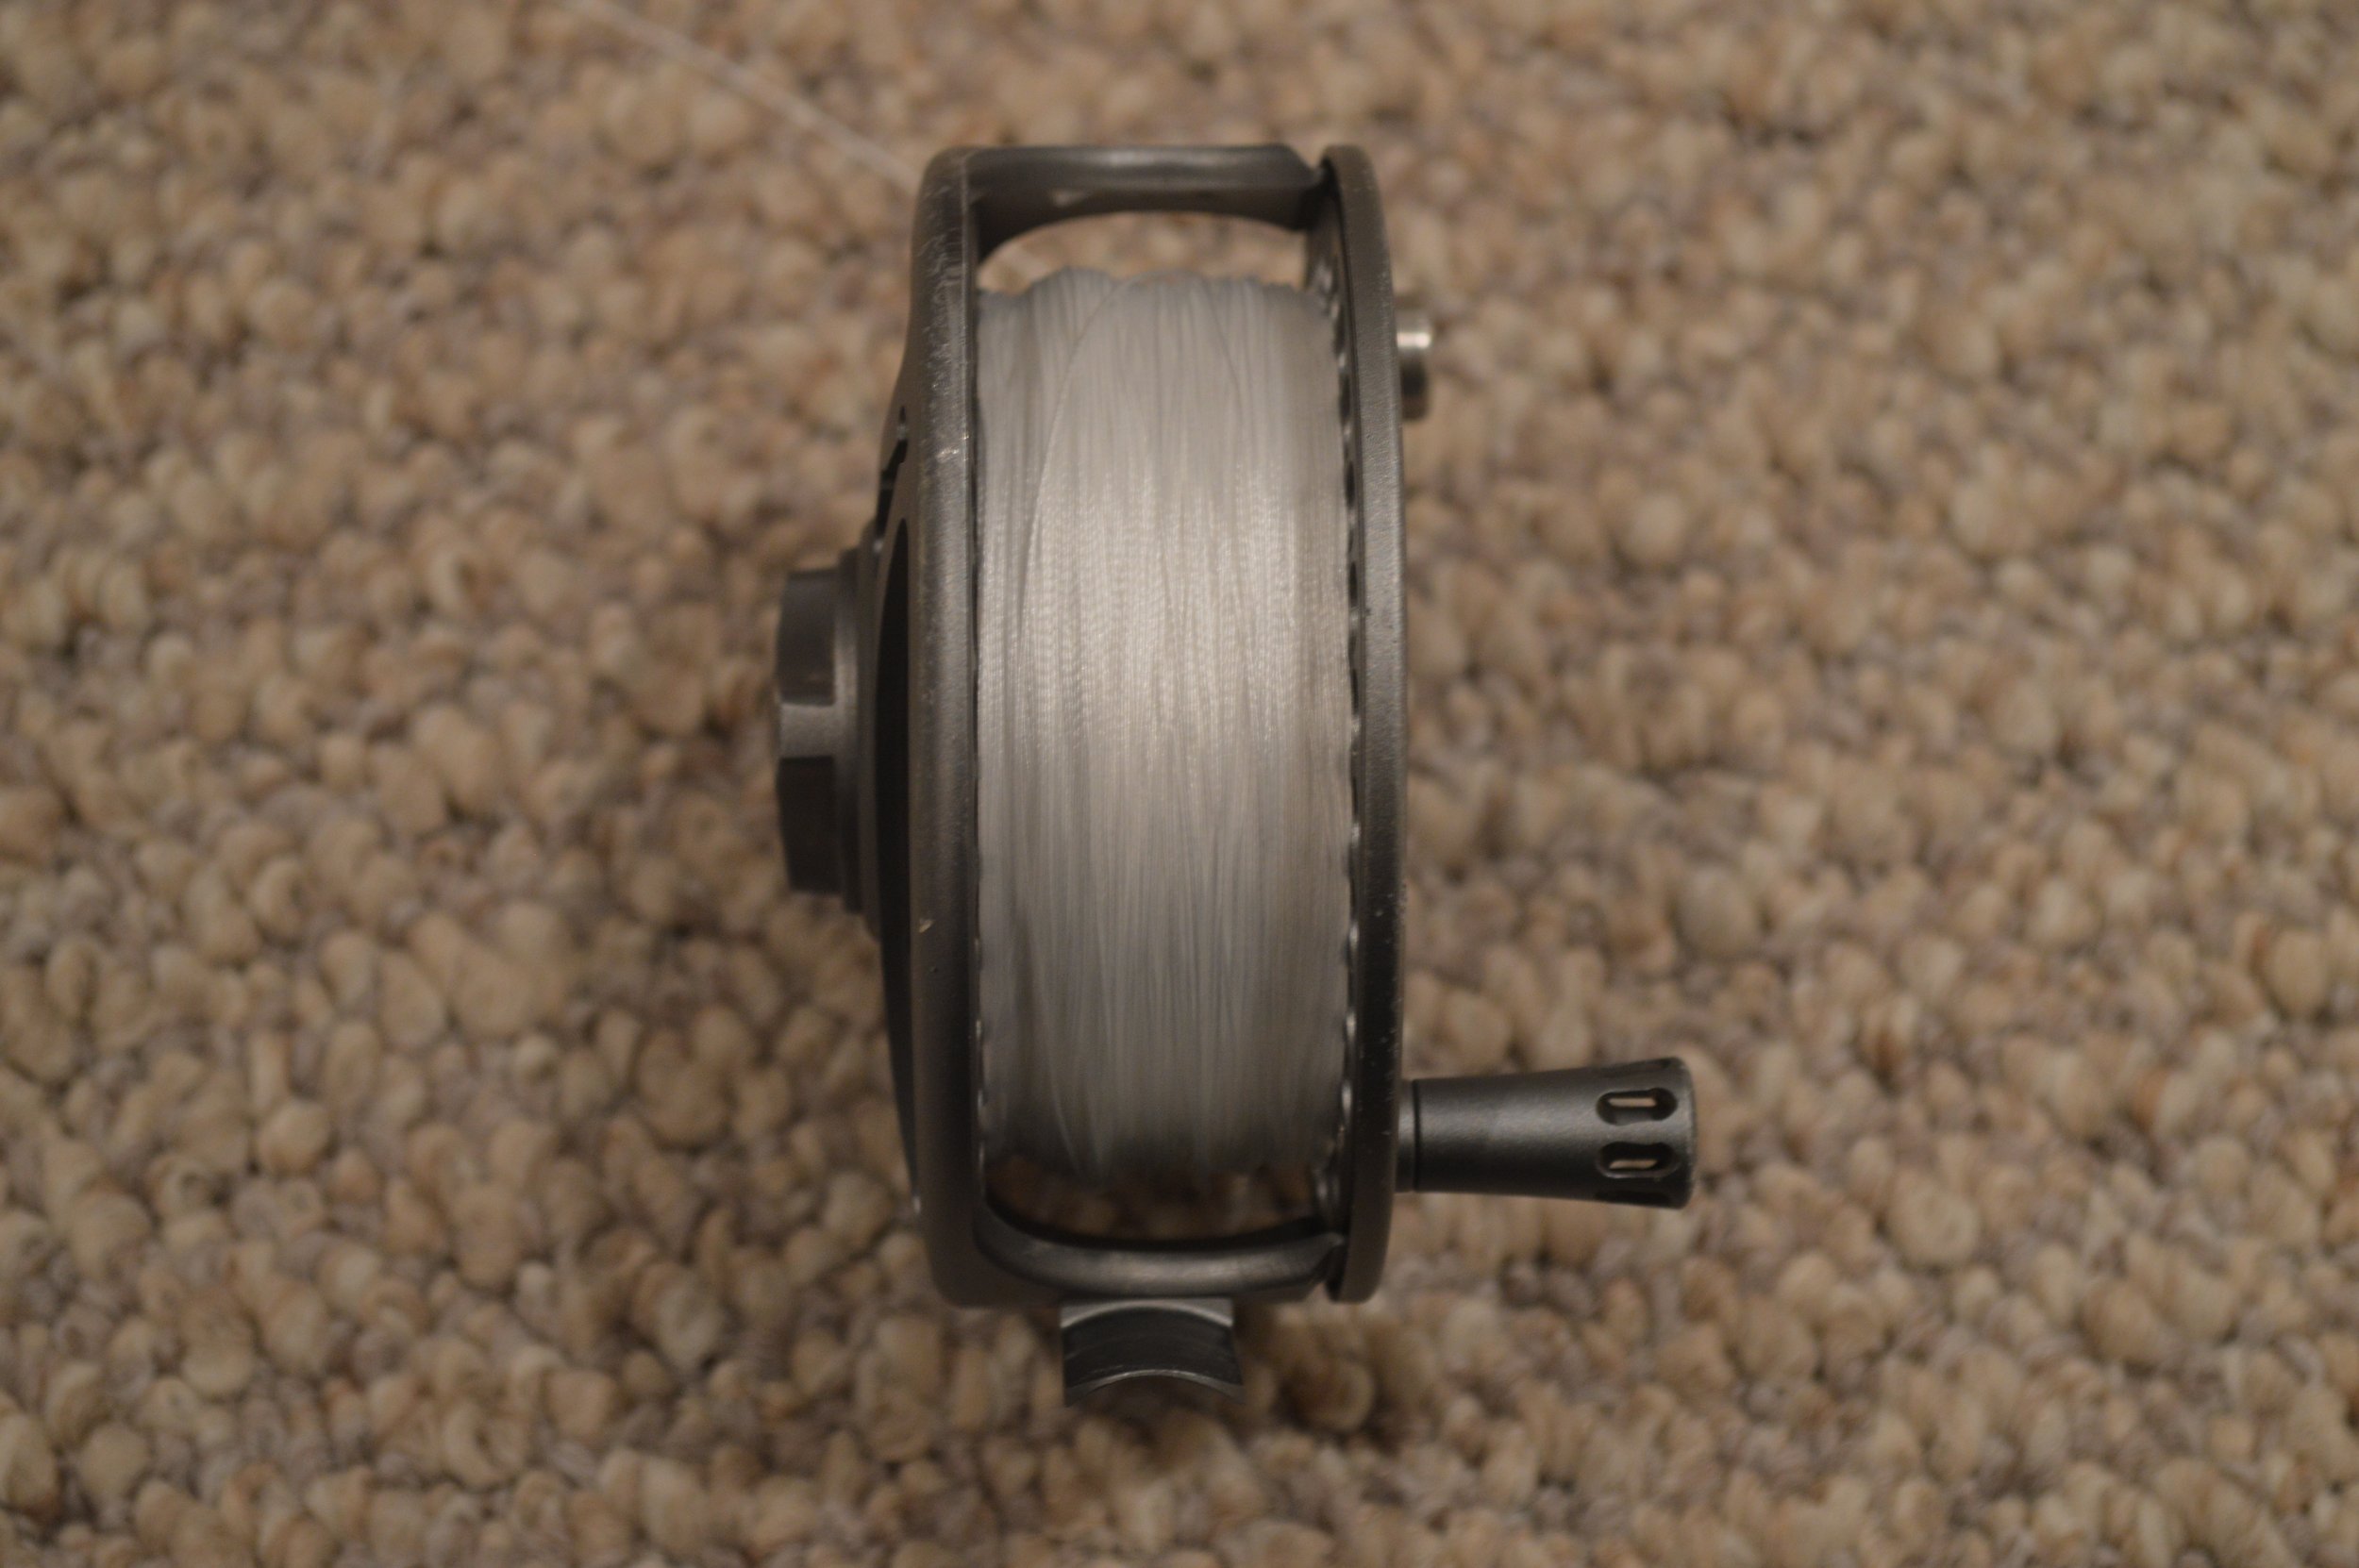
When you're done, it should be a clean, streamlined knot. My fly line, like most, had a welded loop, and here's what it looked like.

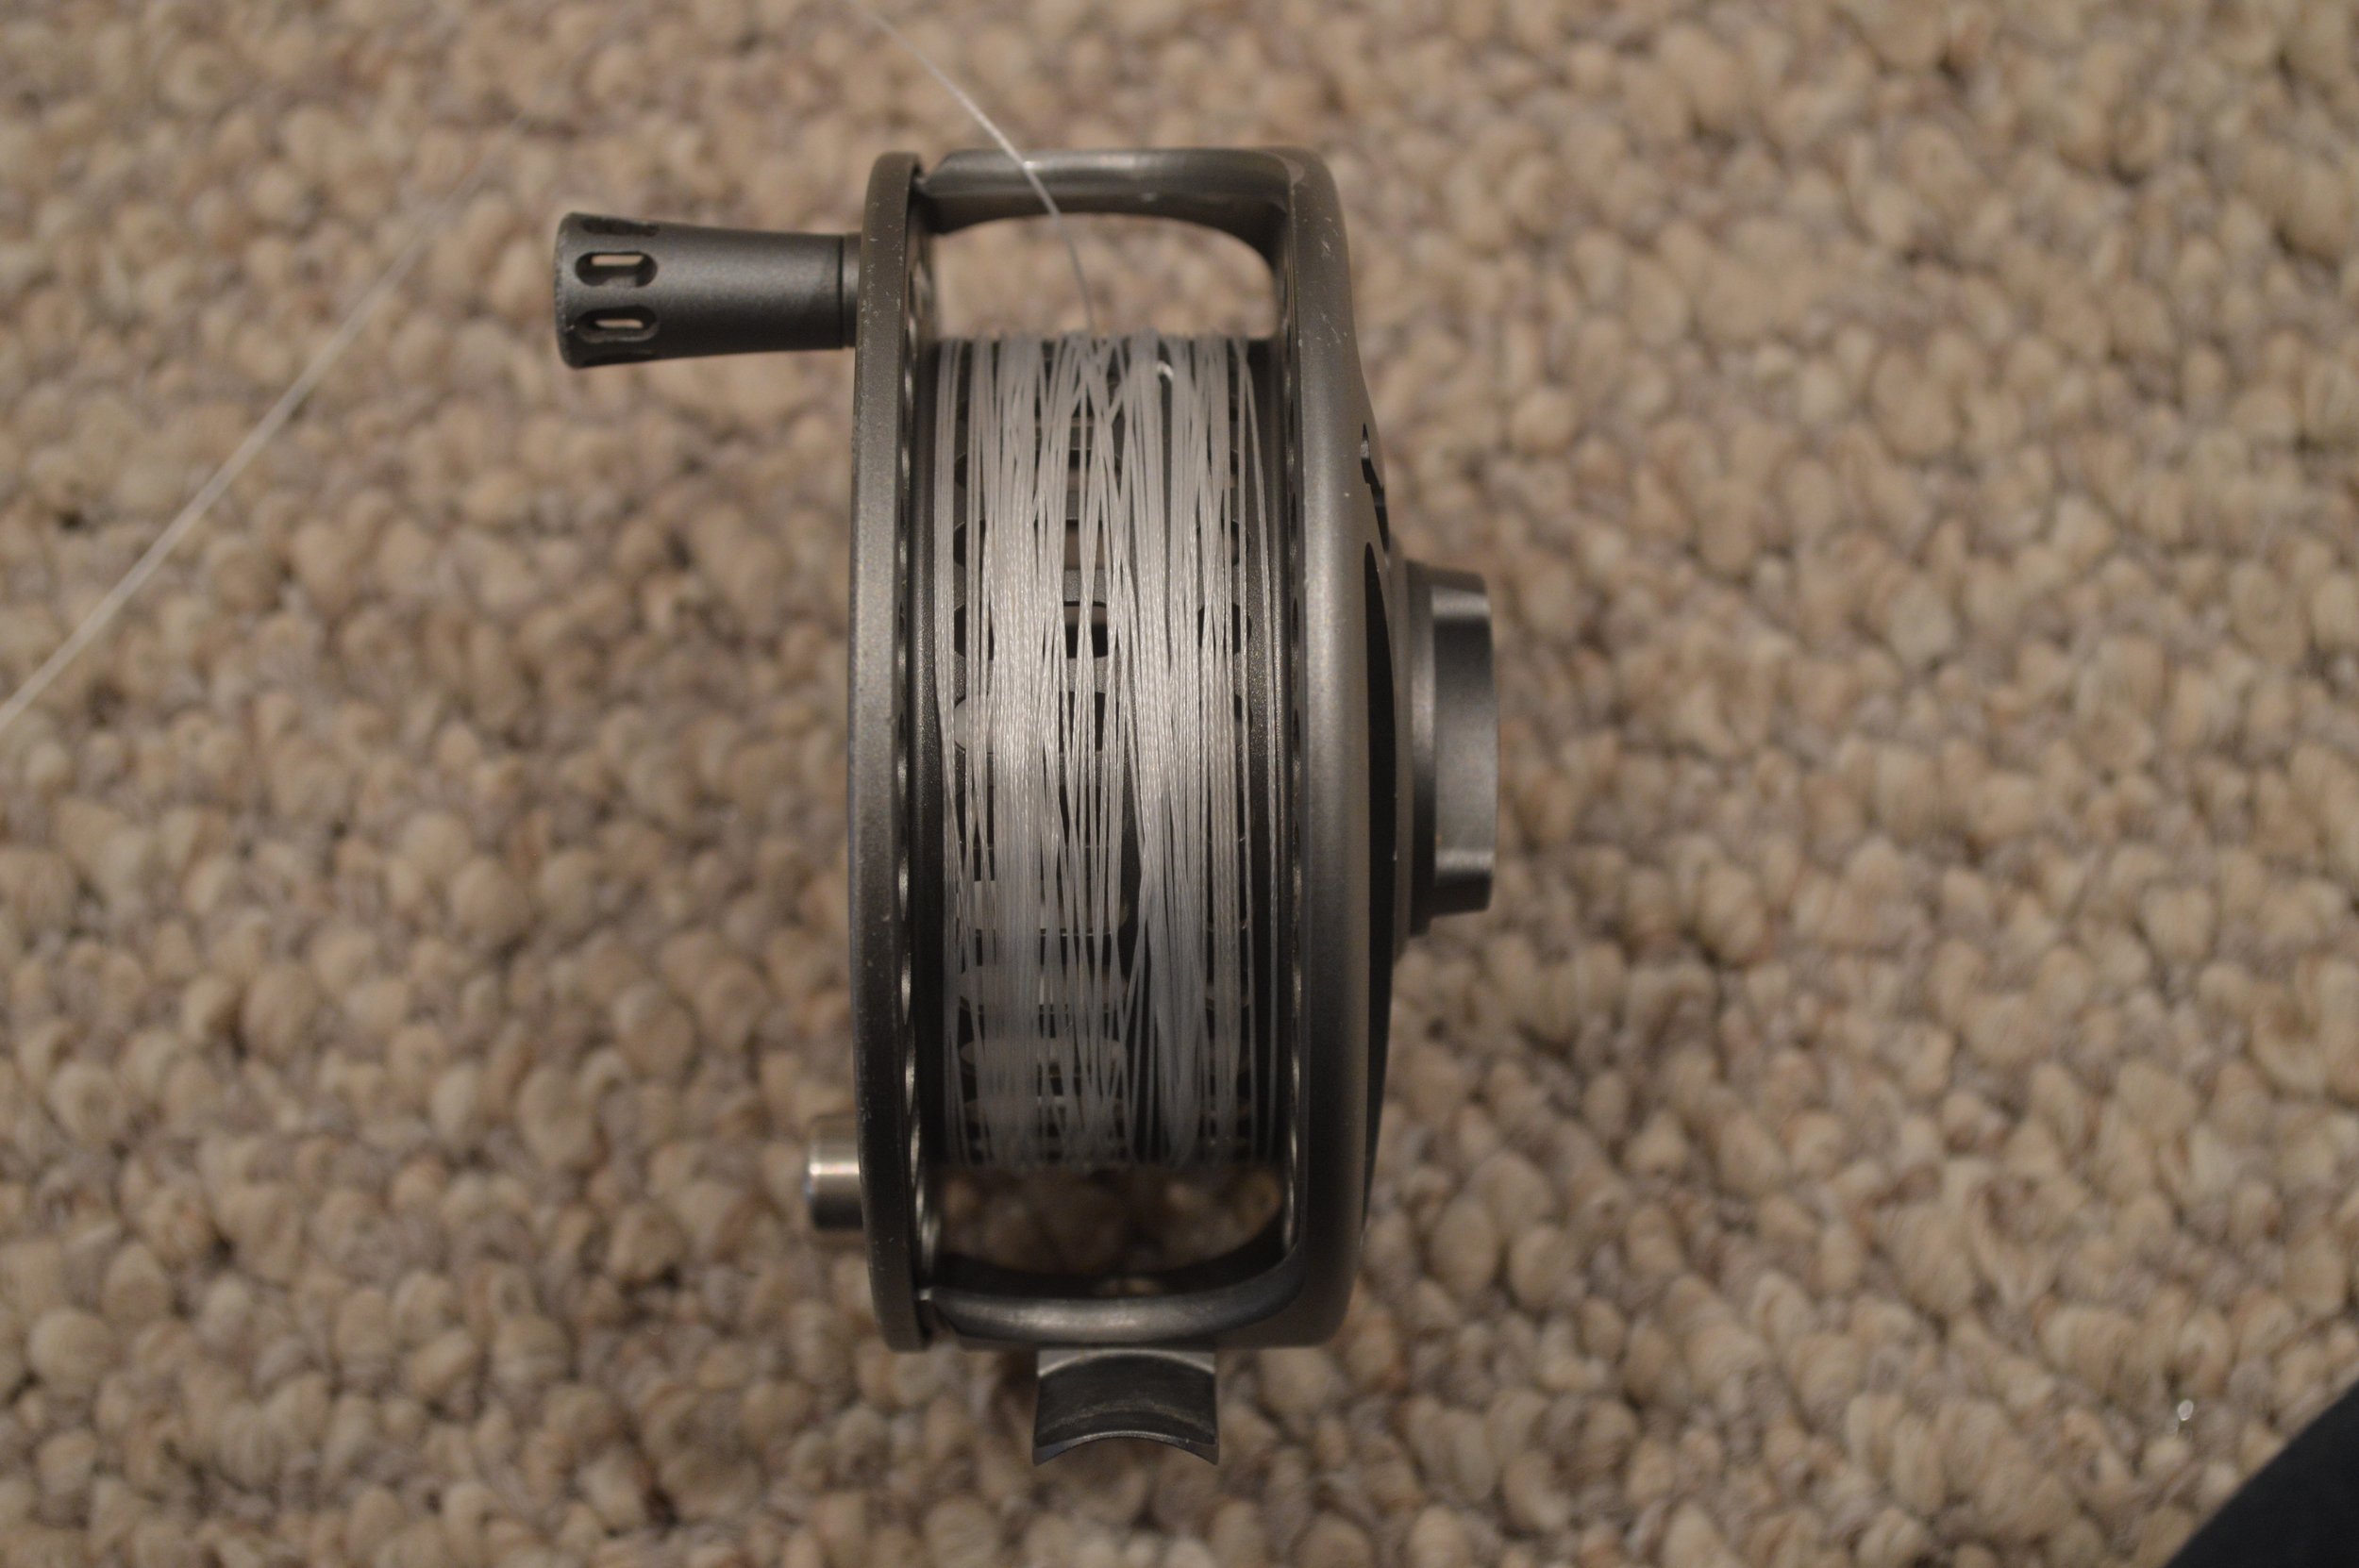
Next, reel the entire fly line up the same way you did the backing. Keep tension as you reel, and spread the line out across the reel. When you're done, the fly line should fill the reel without touching the line guard (the part that goes across the spool). If it's butting up against the metal, go back and remove some backing. Here you can see the line coming close to, but not crowding, the line guard.
3. Attach the leader to the fly line
Now it's time to attach the leader to the fly line. Once again, most modern lines will come with welded loops. If this is the case, you can use a loop-to-loop connection if your leader has a loop as well, or a clinch knot if it doesn't. Be careful with your connections, though. Many people attach loops the wrong way.
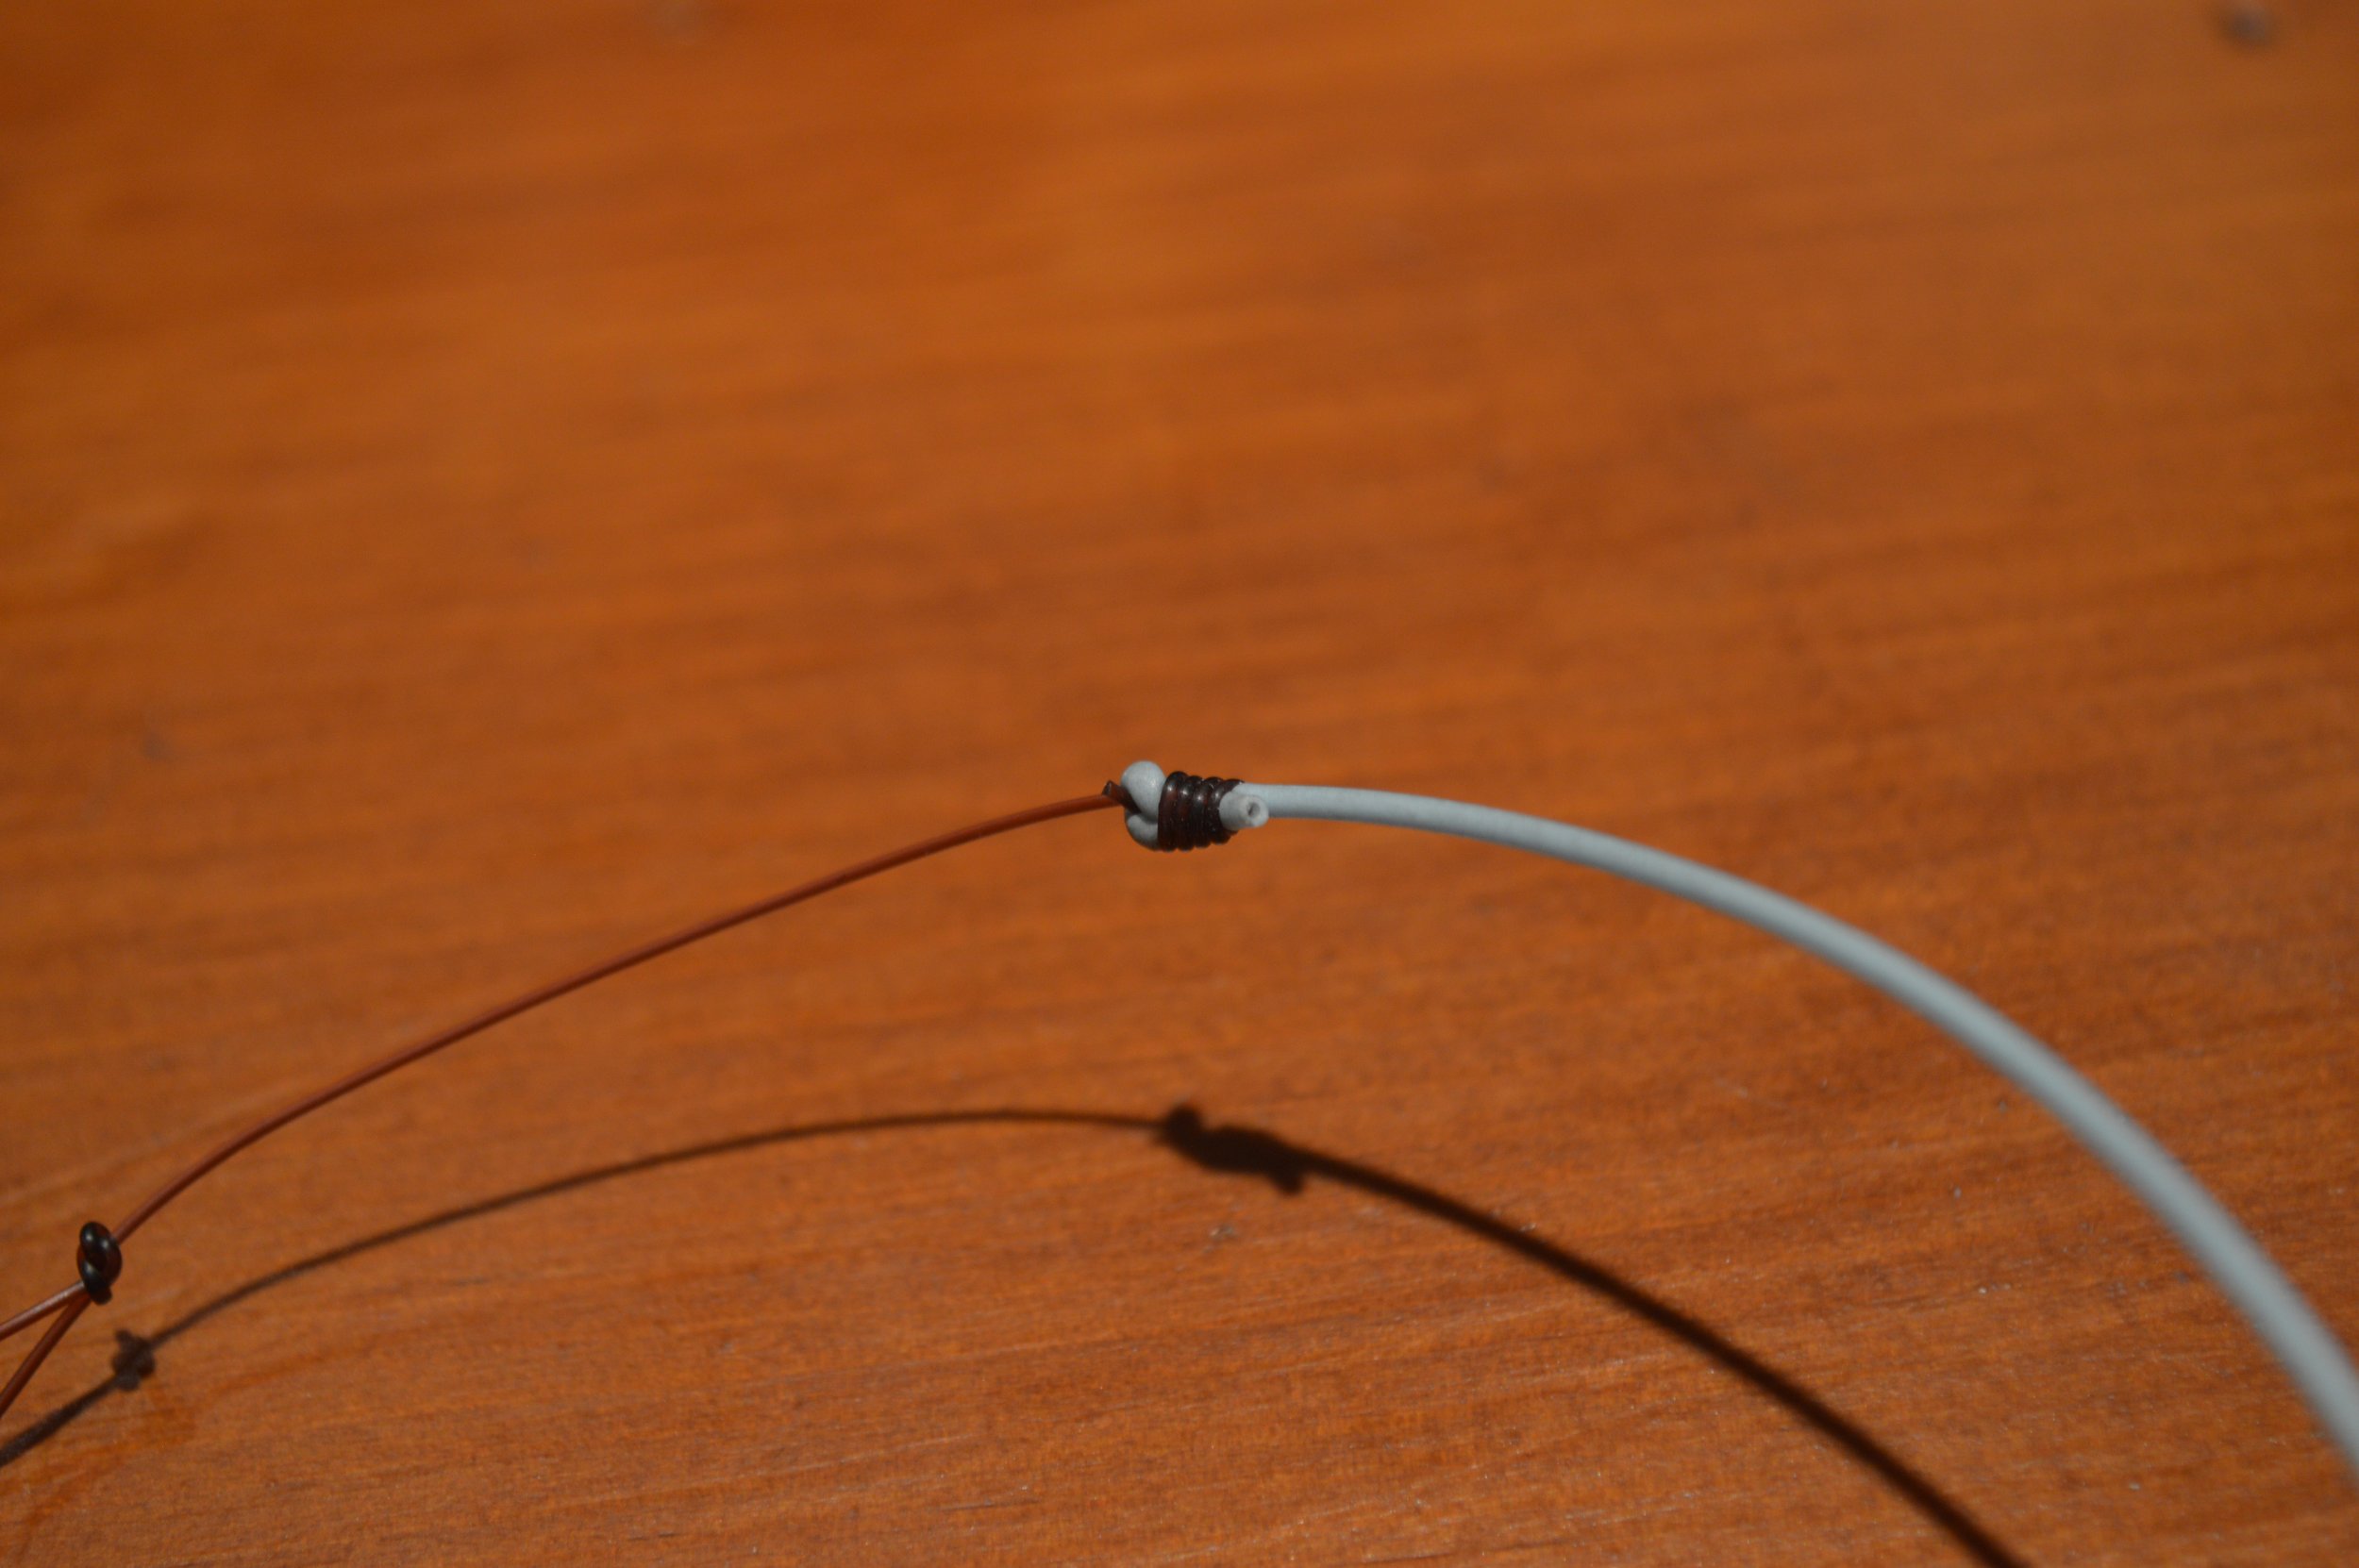
Here is the wrong way to do it. If you do it this way, it's very clunky and will likely get trapped in your guides every time you fish.

Do NOT connect a leader like this.
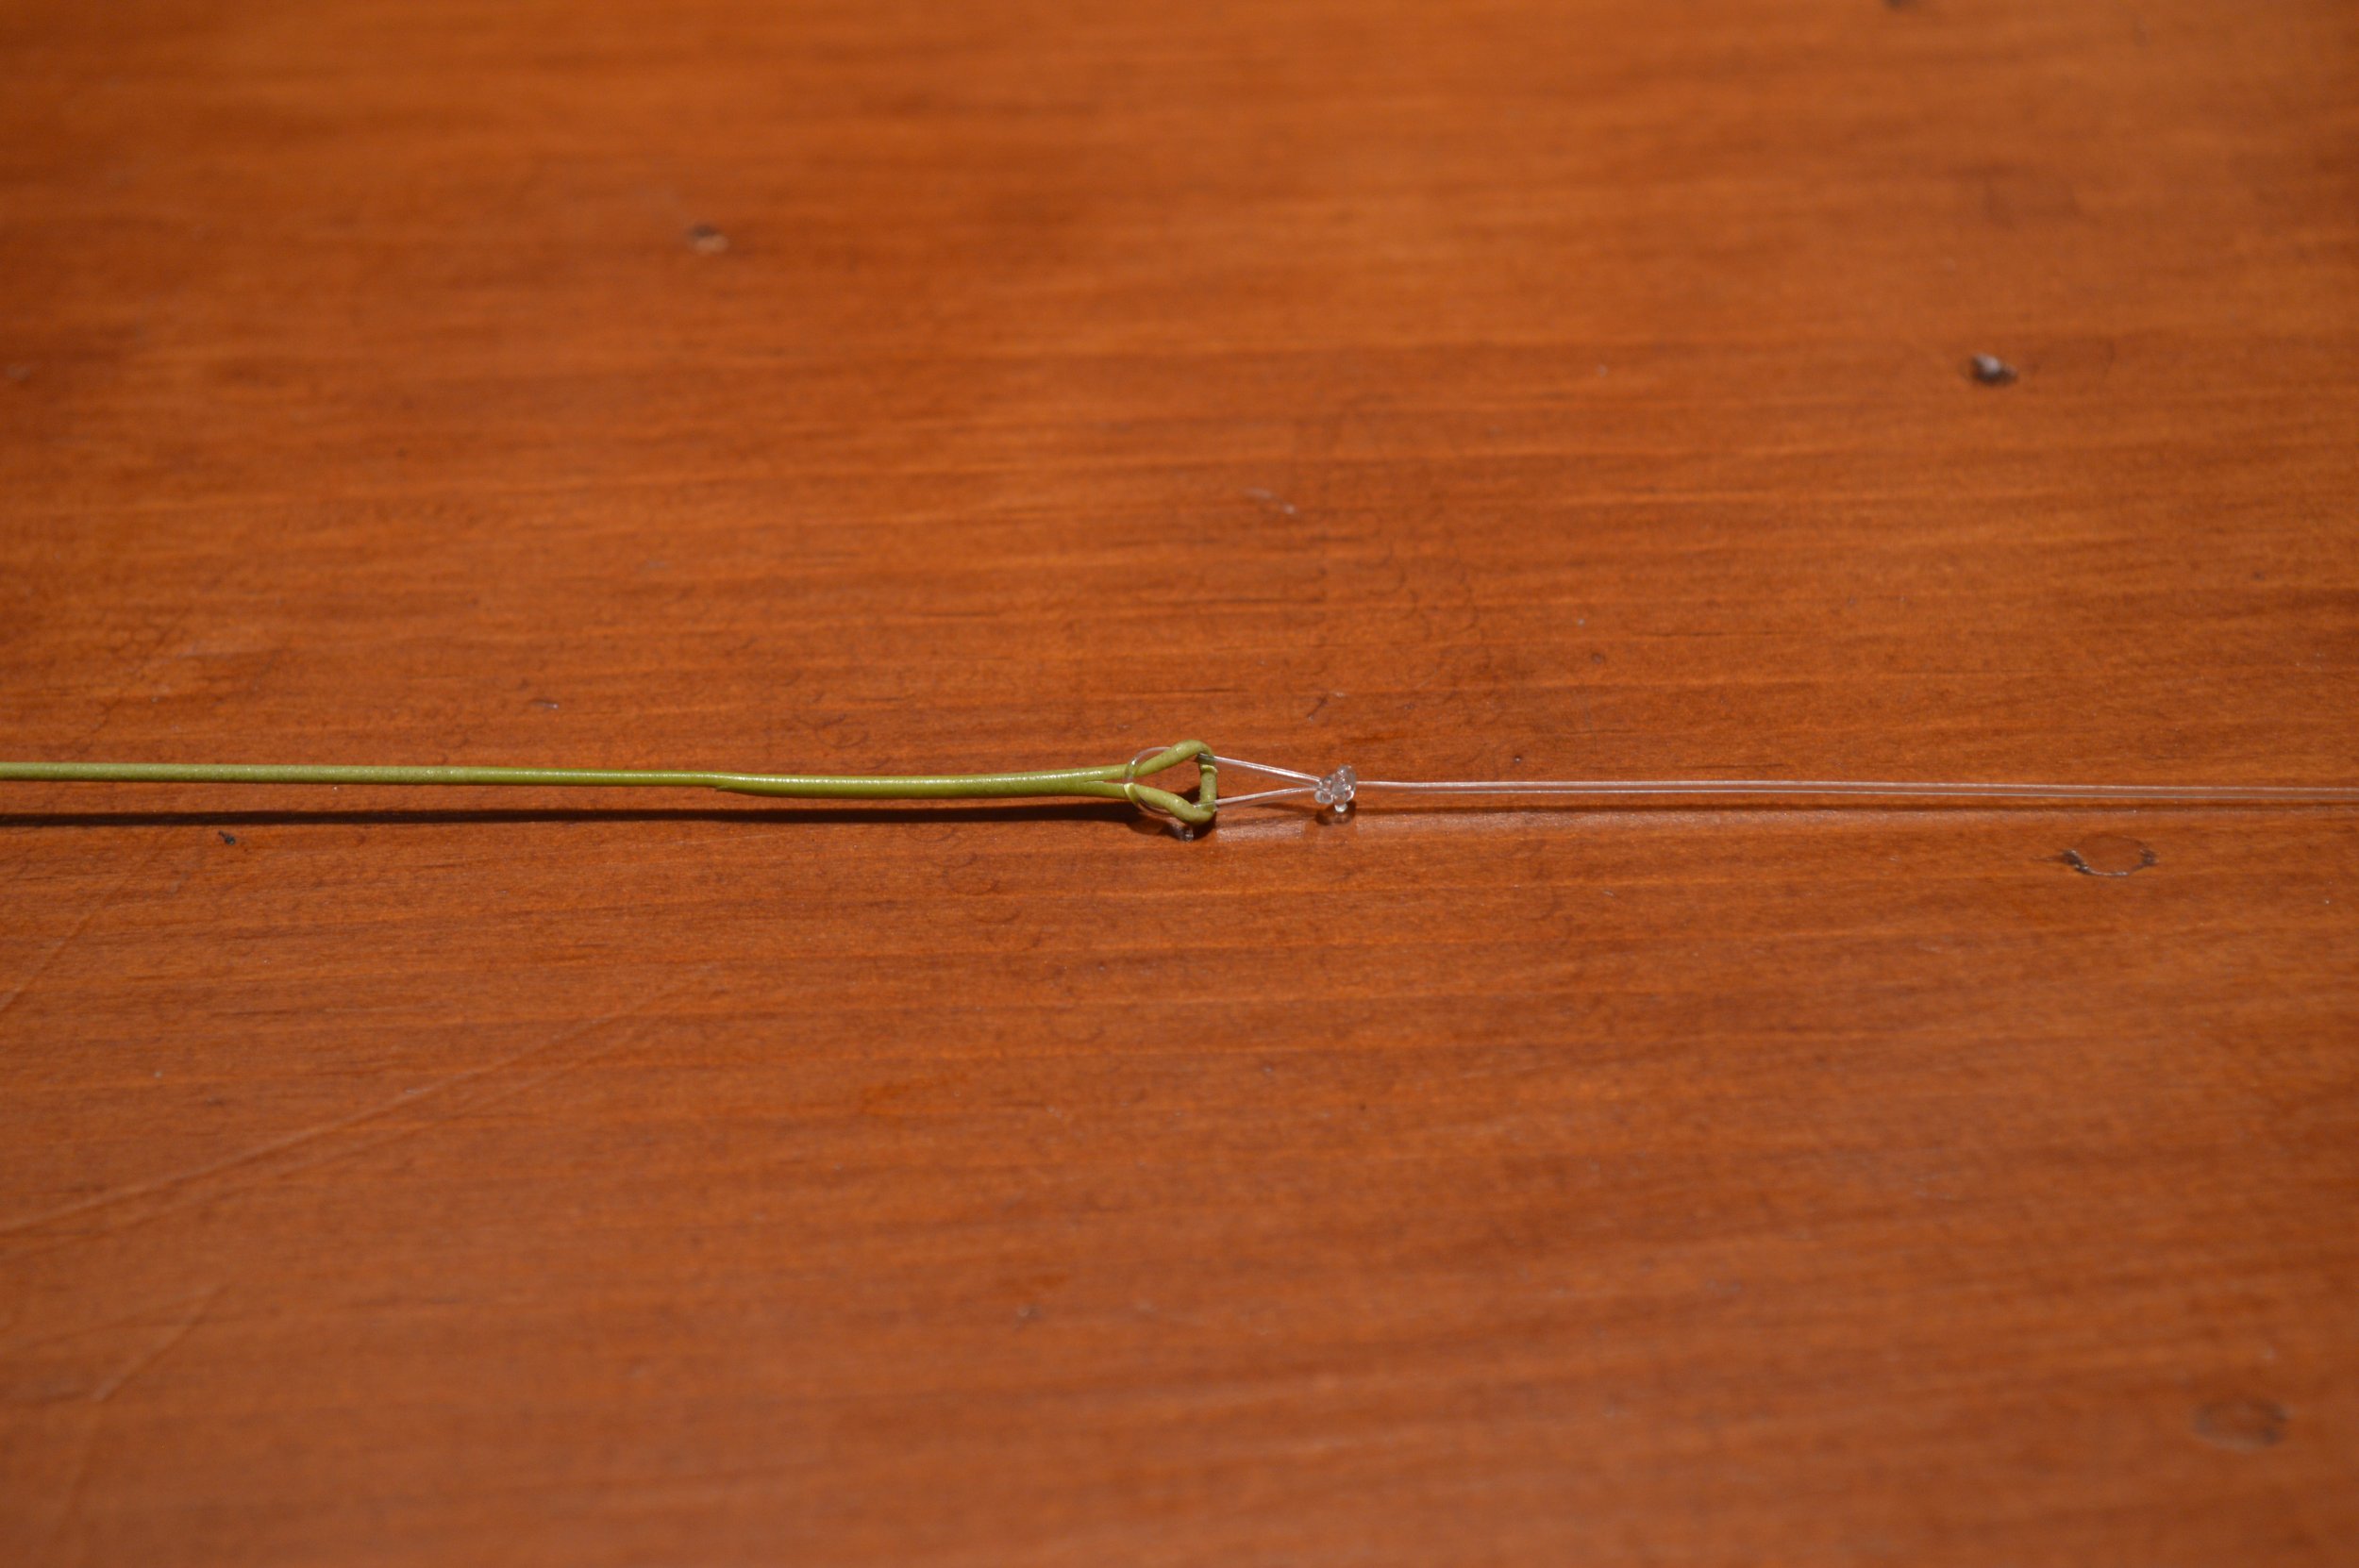
Here's the correct way to do a loop-to-loop connection.

The correct way to start a loop-to-loop connection. Just pull tight to finish it.
If your fly line doesn't have a loop on the end, you have two main options. One is to use a nail or Albright knot to connect your leader to the fly line. While this works, I don't like it because it's a pain when you have to change leaders.
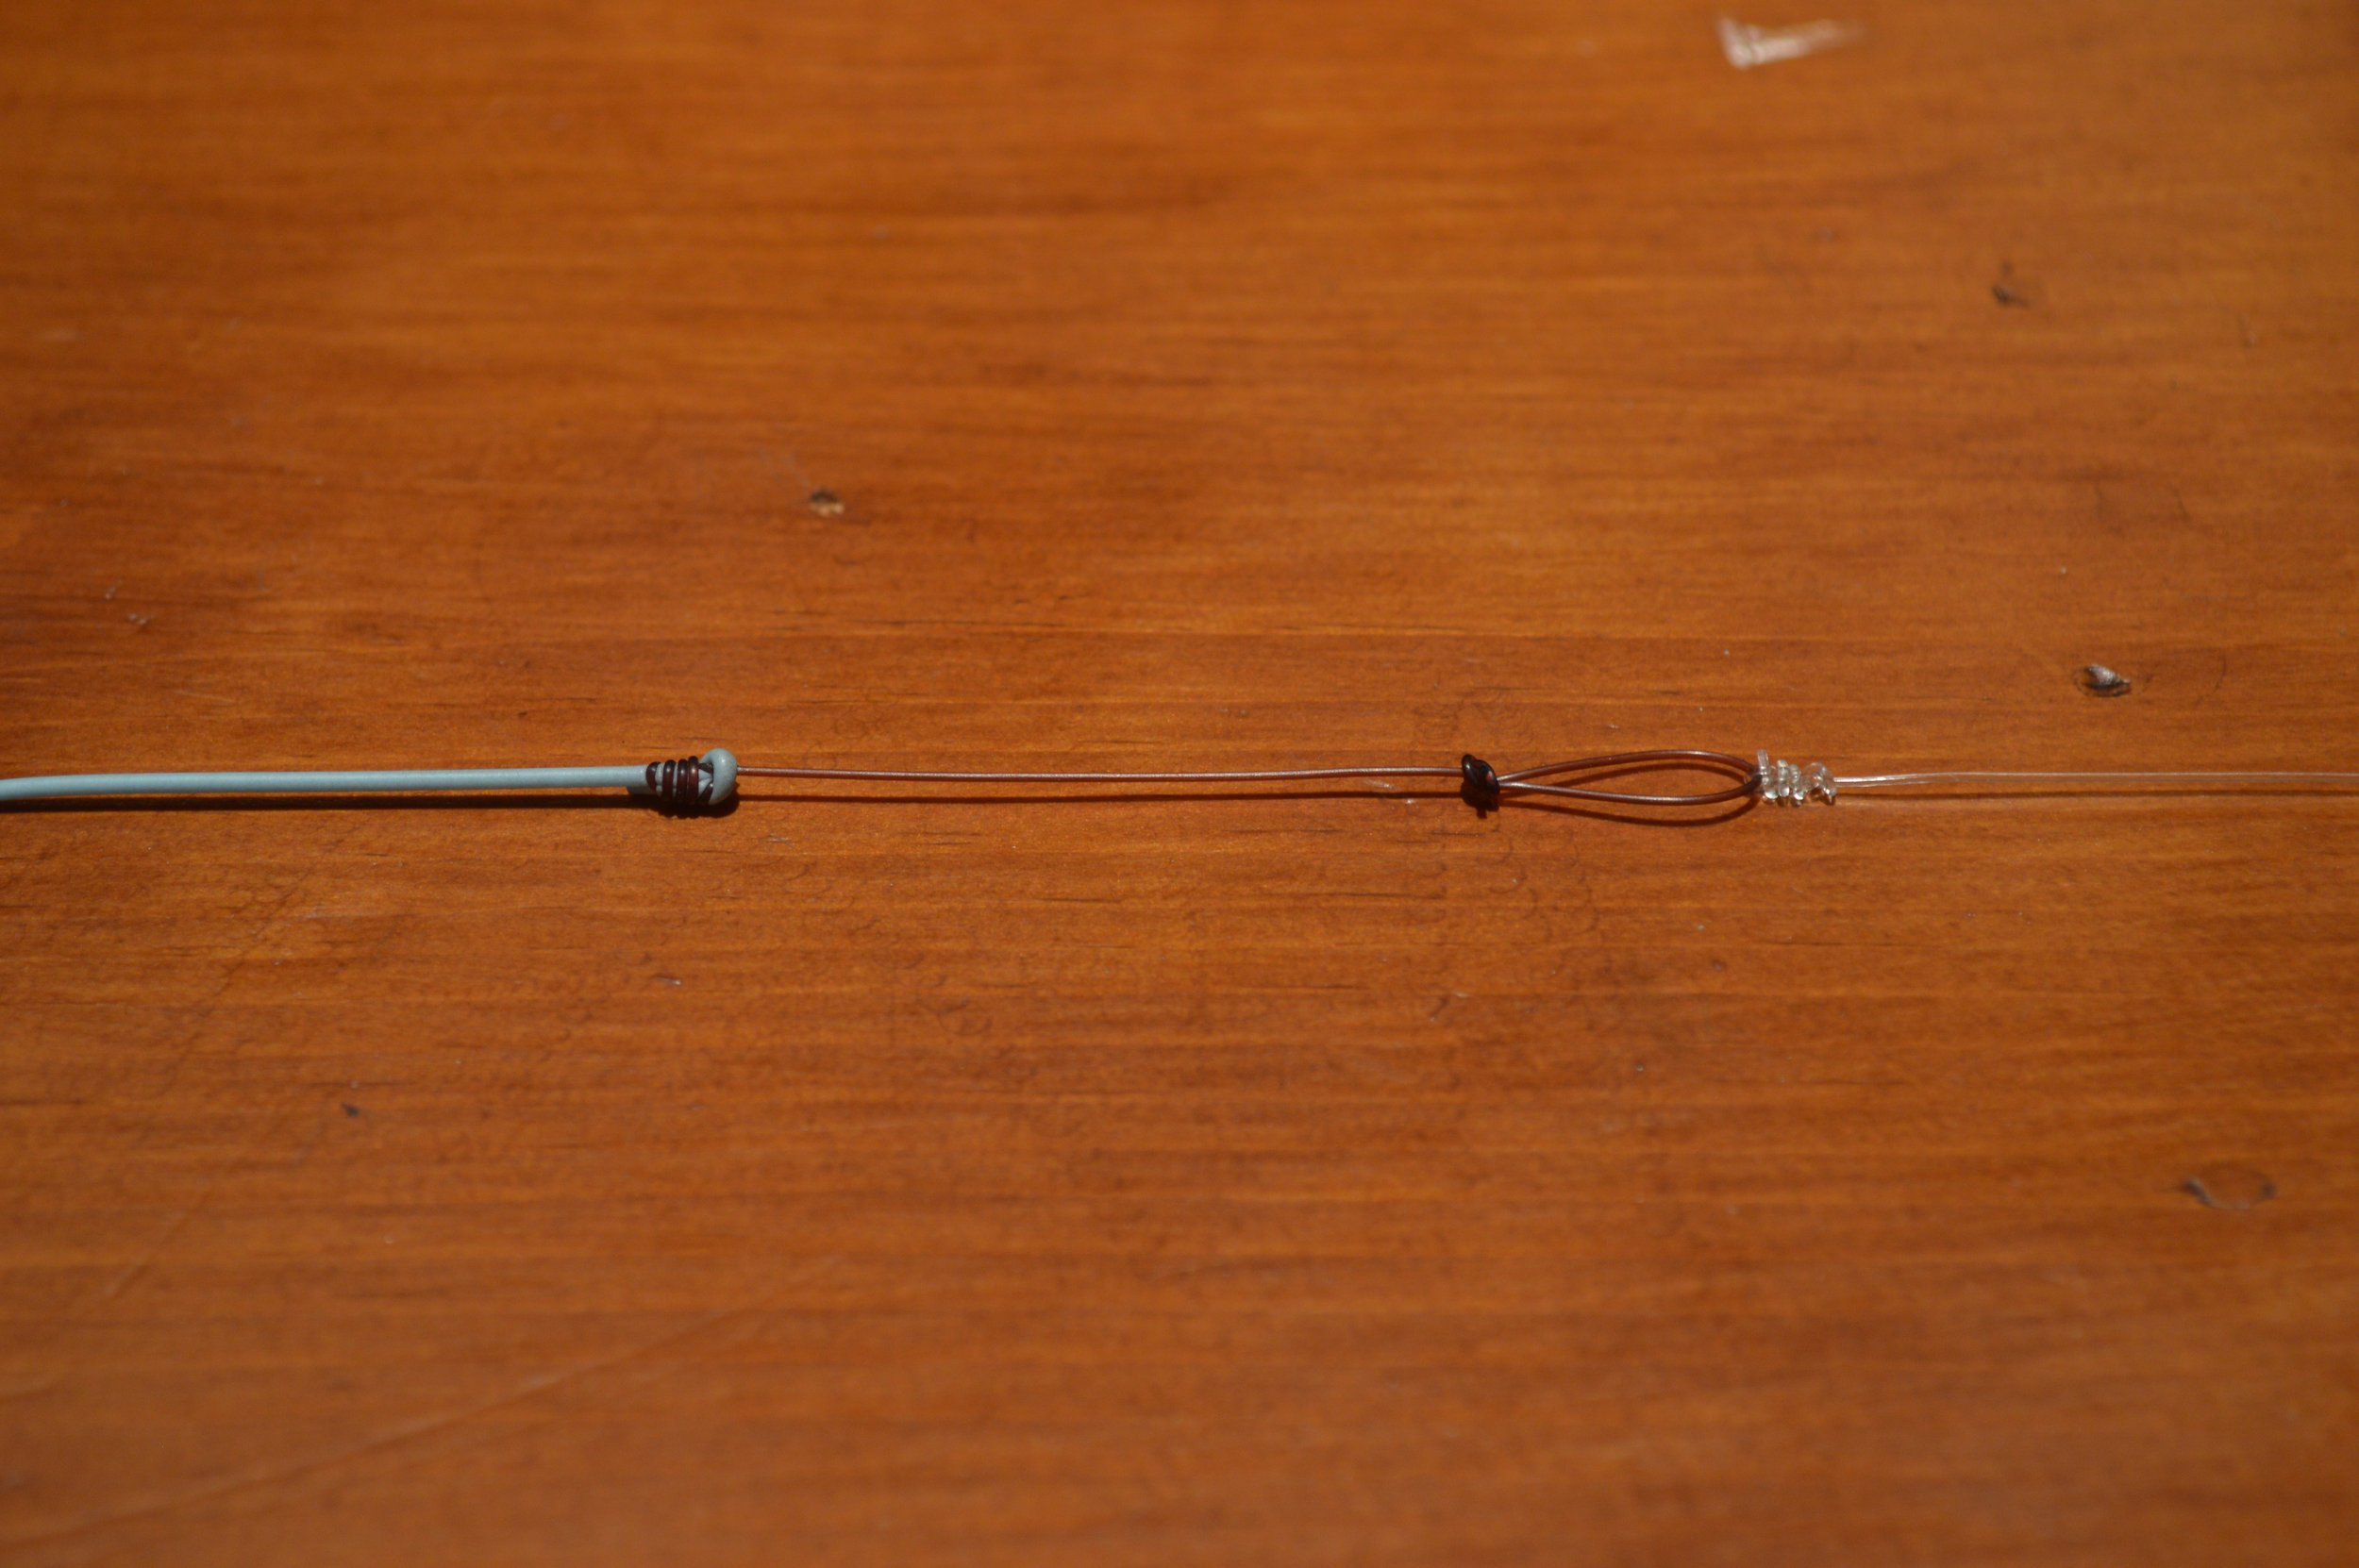
The other option, and my preferred method, is to use the nail or Albright knot to connect a strong, stiff piece of monofilament line (I like around three inches, but the length is up to you) to the fly line, and then tie a perfection loop at the other end of the monofilament. Using this method means you only have to tie the difficult knot once, and now you have a "permanent" loop at the end of your fly line. This can be used for loop-to-loop connections or a clinch knot. It looks like this.
Done!
And that's it. The only thing left is adding your tippet when you go fishing. When done correctly, you'll rarely need to unspool your reel. Simply replace your leader or clean your fly line when needed, and you're still good to go with the same setup.